If your Roomba 675 or 690 isn’t cleaning as well as it used to, it may just need a thorough cleaning.
Routine maintenance is one of the best ways to keep your Roomba running efficiently for years.
In this guide, I’ll show you how to clean the Roomba 675 step-by-step using only a Philips screwdriver and a microfiber towel — no special tools required.
Why Regular Cleaning Is Important
Robot vacuums like the Roomba 675 collect dust, hair, and debris daily. Over time, this buildup can reduce suction, clog rollers, and strain the motor.
By cleaning your Roomba regularly, you’ll:
- Extend its lifespan
- Improve suction performance
- Reduce noise and mechanical strain
- Avoid expensive repairs down the road
What You’ll Need
- Philips screwdriver
- Microfiber towel (for dust and hair removal)
Optional:
- Small brush or compressed air for hard-to-reach areas
Step-by-Step Guide to Cleaning Your Roomba 675
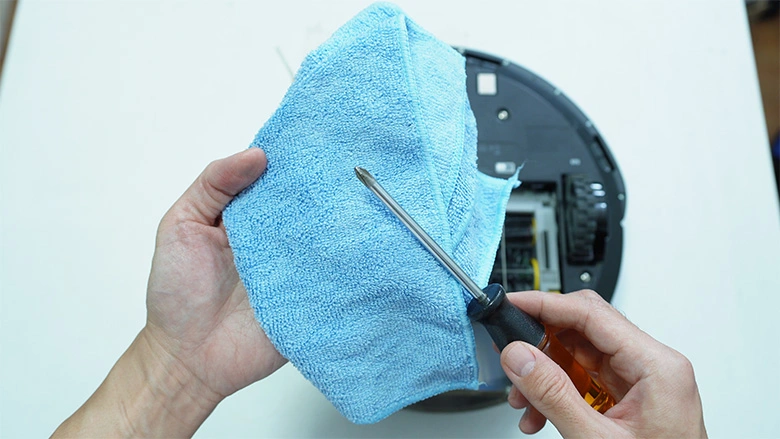
Step 1: Remove the Side Brush
Start by flipping your Roomba upside down.
Use the Philips screwdriver to loosen the single bolt that holds the side brush.
Once it’s removed, set the brush aside.
💡 Tip: Check the base of the brush for tangled hair — this area often gets overlooked.
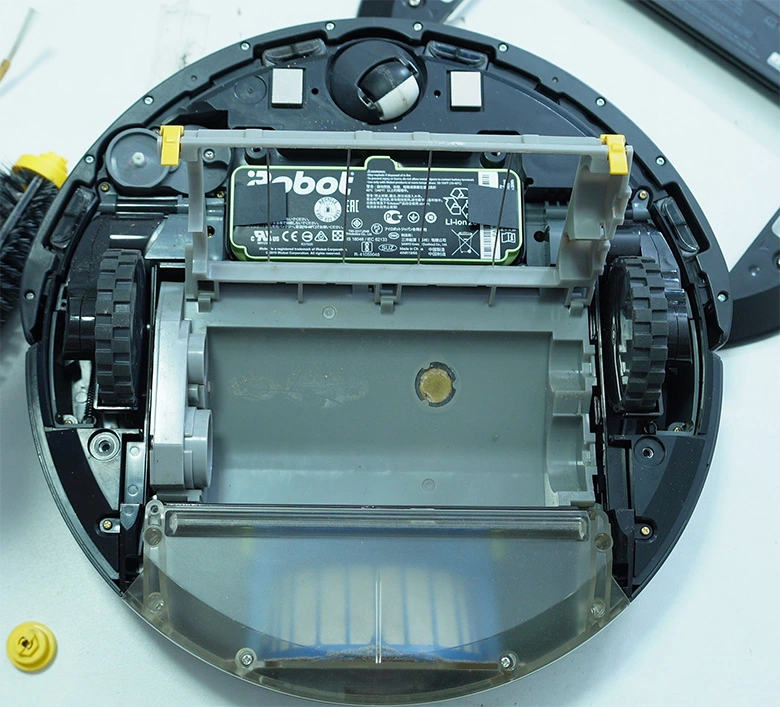
Step 2: Loosen and Remove the Base Plate
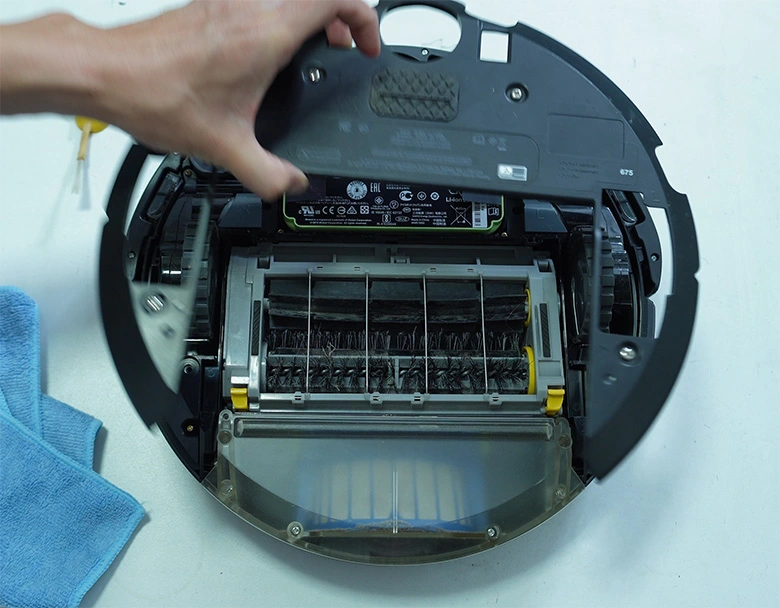
With the side brush out, you’ll have access to the four bolts holding the base plate.
Loosen them using your screwdriver — there’s no need to remove the bolts completely.
Once loosened, lift off the base plate to expose the internal components.
Before moving on, check this area for any hair or dirt buildup, especially around the edges.
Step 3: Clean the Brushes and Axles
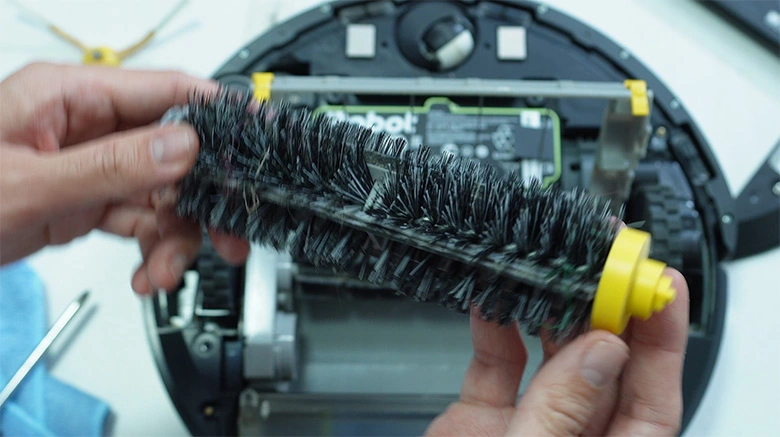
Next, remove the main roller brushes. You’ll likely find hair wrapped around the ends and axles.
Use your microfiber towel to wipe off dust and debris from the rubber and bristle brushes.
Remove the axle guards to check for hidden hair wrapped around the metal shafts.
After cleaning, reattach the guards and reinstall both rollers.
Step 4: Clean the Dustbin and Filter
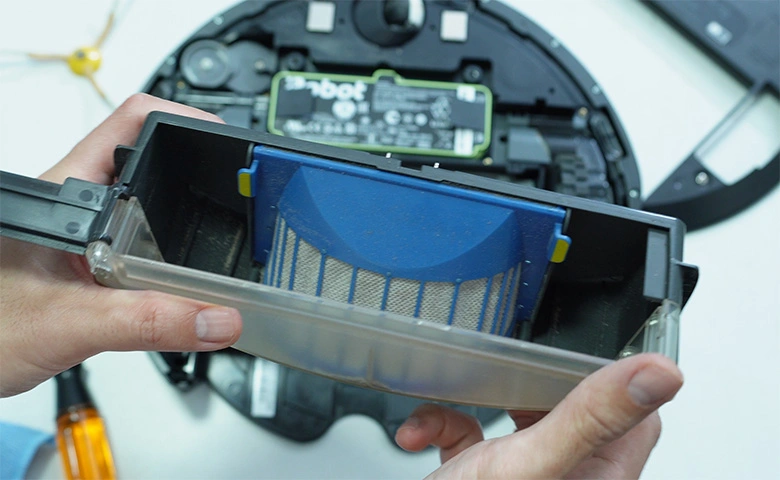
Take out the dustbin and remove the filter.
Gently wipe the filter’s surface with your microfiber towel to remove dust.
⚠️ Important: Do not wash the dustbin with water — the fan motor inside can get damaged.
Instead, use a dry microfiber towel to clean the inner surfaces and the area around the fan.
Step 5: Wipe the Inner Components
Now that the base plate is off, wipe all the inner components you can reach.
Pay special attention to areas with stuck-on dust or debris.
Even if your robot doesn’t look very dirty, regular cleaning prevents buildup that can affect performance.
Use the clean area of your microfiber towel and gently wipe the drop sensors.
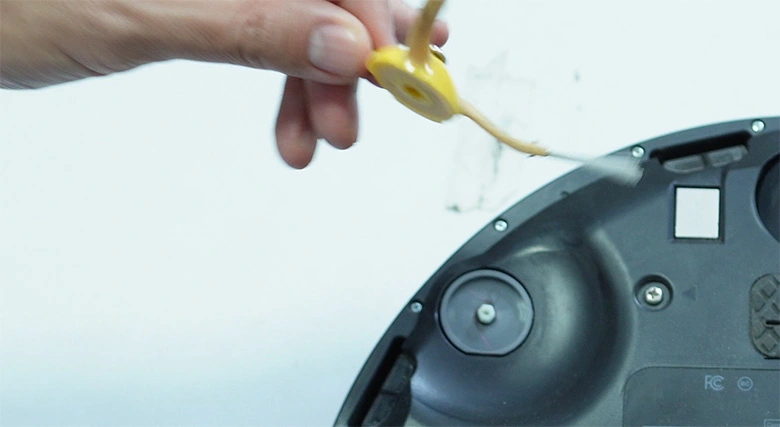
Step 6: Clean the Front Caster Wheel
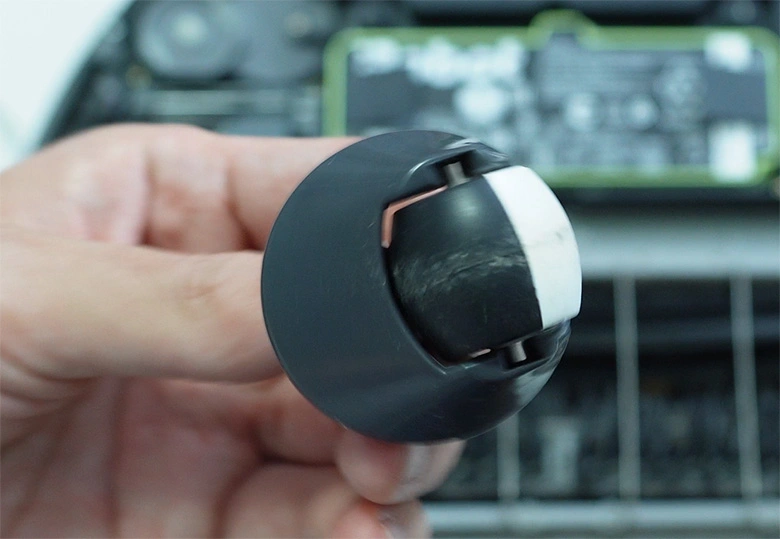
Pull out the spinning front caster wheel and wipe off any gunk or hair wrapped around it.
This small wheel helps your Roomba navigate — keeping it clean ensures smooth movement.
Step 7: Clean the Side Wheels
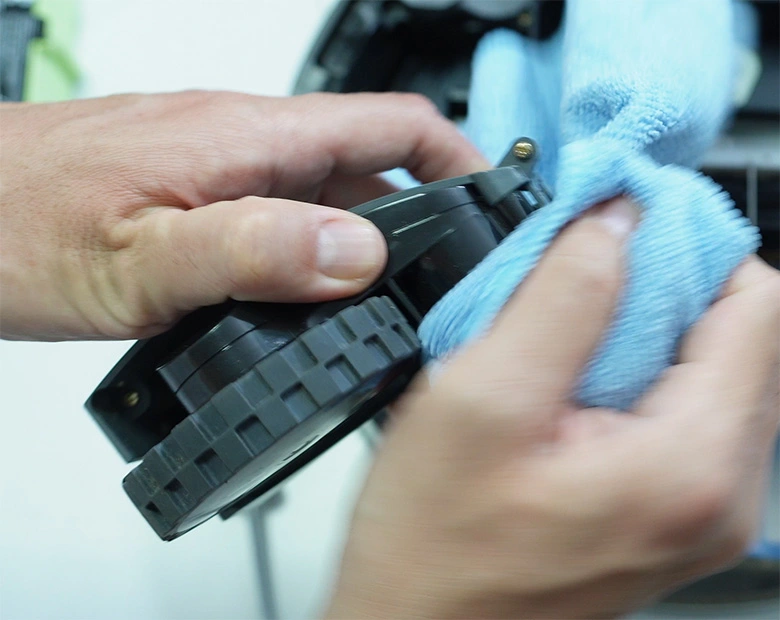
Using a smaller screwdriver, loosen the three bolts holding each side wheel.
Lift each wheel assembly out and clean the nooks and crannies around it with your microfiber towel.
Repeat the process for the other wheel.
Once done, slide both wheels back in place and tighten the bolts.
Step 8: Reassemble Your Roomba
Now it’s time to put everything back together:
Reattach the base plate and tighten the bolts.
Reinstall the side brush and secure it with the screw.
Flip your Roomba upright and power it on to ensure everything works properly.
That’s it — your Roomba 675 (or 690) is now clean and ready for action!
Final Thoughts
A thorough cleaning every few weeks keeps your Roomba performing like new.
With just a few simple tools, you can prevent clogs, improve suction, and extend your robot vacuum’s lifespan.