If your Dyson V7 vacuum isn’t holding a charge like it used to, don’t worry — replacing the battery is a simple DIY job that only takes a few minutes. This guide will walk you through each step, and the good news is: the process is nearly identical for all V7 models and the V8 as well.
⚠️ Important Note: While the V7 and V8 share the same bolt locations, their batteries are NOT interchangeable. Be sure to purchase the correct battery for your model to avoid wasting money.

What You’ll Need
Philips screwdriver (preferably with a magnetic tip to avoid losing screws)
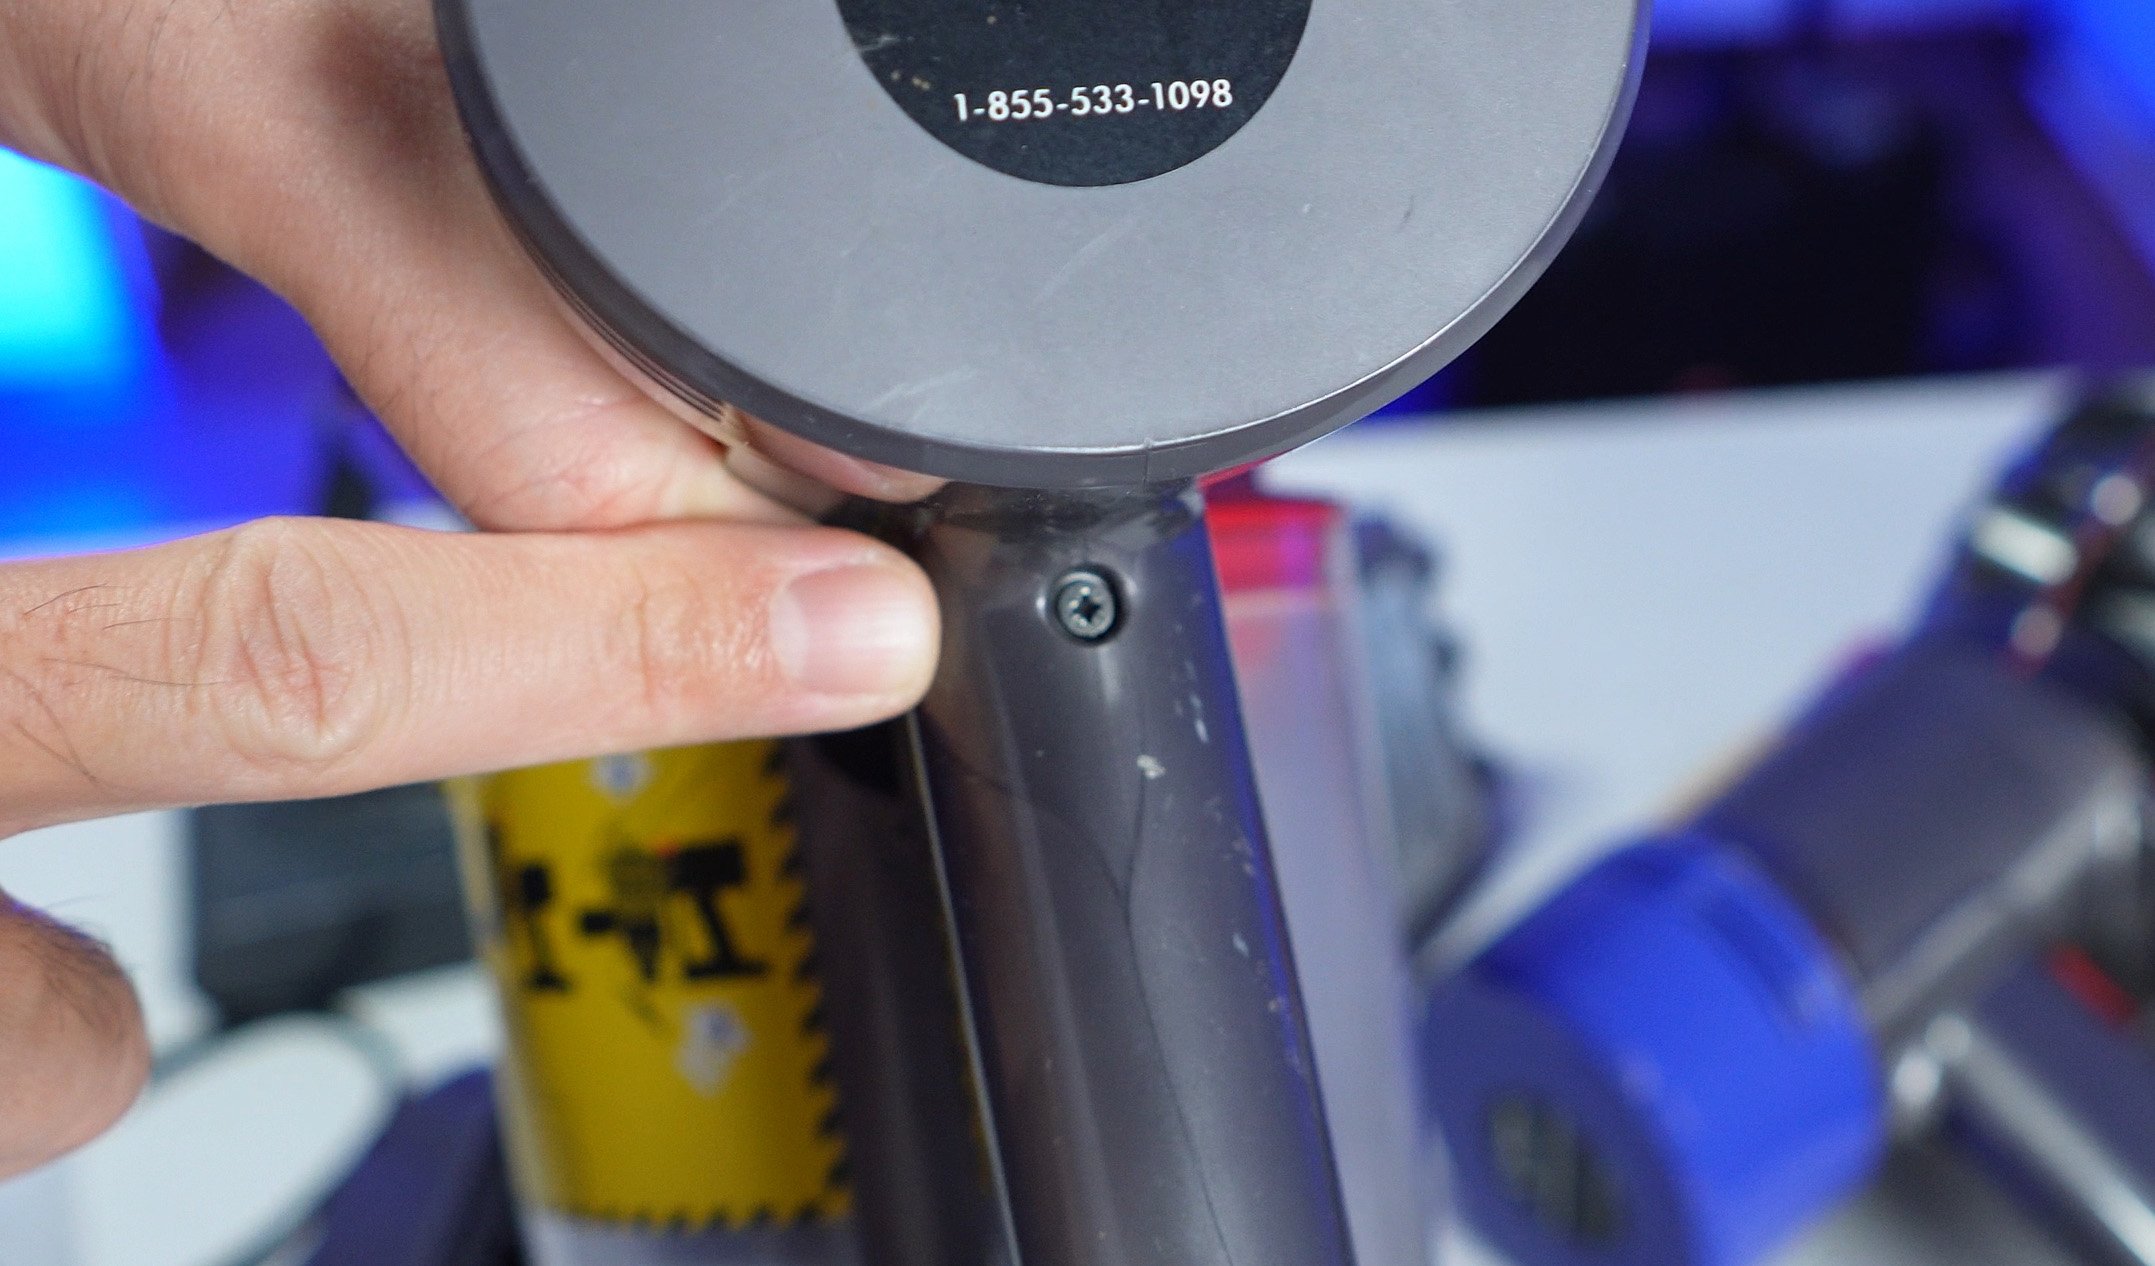
Step 1: Locate the Screws
There are three screws holding the battery in place:
-
Two screws are located underneath the handle, just below the dustbin.
-
One screw is located at the back of the handle (you may need to move the dustbin for better access).
You don’t have to open the dustbin to remove these screws, but doing so can make it easier — just be prepared for a small mess if there’s leftover dirt inside.
Step 2: Remove the Screws
Using your Philips screwdriver:
-
Unscrew the two bolts underneath the handle.
-
Unscrew the rear bolt near the grip.
-
Set the screws aside in a safe place.
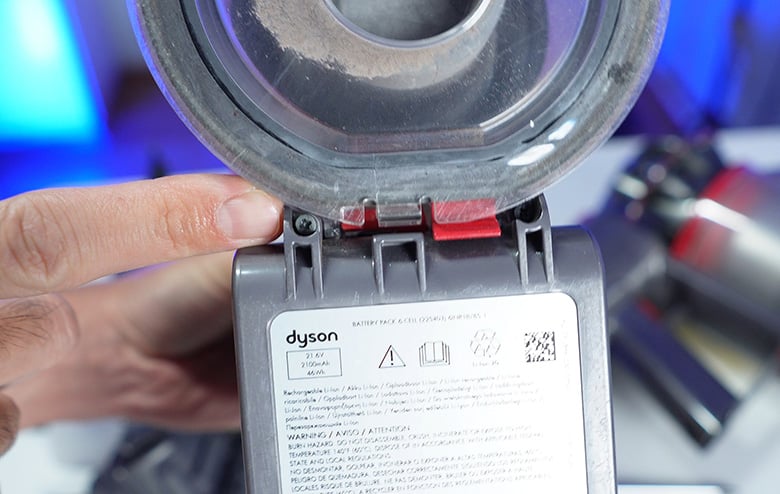
Step 3: Remove the Old Battery
Once all screws are removed, gently slide the old battery out of the vacuum.
Step 4: Insert the New Battery
Take your new battery and slide it into place. It should fit snugly and align with the screw holes.
Step 5: Test the New Battery
Before reattaching the screws, press the trigger to ensure the new battery is functioning properly. Most replacement batteries come partially charged.
Step 6: Reinstall the Screws
Once you’ve confirmed the new battery works:
-
Reinsert the three screws and tighten them.
-
Be careful not to overtighten, as this could strip the threads or damage the housing.
Conclusion
That’s it! Your Dyson V7 or V8 should now be running with a fresh battery. This simple replacement can bring your vacuum back to life and save you from buying a new unit altogether.
If you found this guide helpful, consider sharing it or leaving a comment.